Welcome to Ryver!
Ryver™ makes managing your team’s collaboration easy, simple, and affordable by organizing it all in one app. This guide is designed to help you get started using Ryver quickly and easily so you’ll be on your way to making your team collaboration more efficient. Use this brief guide to learn how to:
Have other questions? Please read our complete user guide, email us at support@ryver.com, chat with us on our support site (support.ryver.com), or choose “Send Feedback” from Ryver (in the drop-down menu at the top of the left navigation bar).
Navigate the Ryver App
There are three types of communication channels in Ryver, and you’ll find them on the vertical menu on the left when you log in:
- People – Where you talk one-on-one with other users.
- Teams – Where you talk privately with specific groups of people.
- Forums – Where you talk with all Members in your organization, plus any invited Guests.
There are four ways to collaborate with people, and you’ll find those options on the horizontal menu when click on the name of a team, a forum, or a person:
- Chat – Talk one-on-one with other users.
- Topics – Talk privately with specific groups of people.
- Tasks – Manage your tasks and assign tasks to any Member or Guest.
- Calls – Start a voice or video conference call with any Member or Guest one click (with screen sharing).
Add People
In order to communicate and collaborate, you must add some people to your Ryver account. Follow these steps to add Members:
- Click on the plus (+) icon next to the People channel.

- Once the Invite Users window displays, complete the following fields for each new member you want to add:
- Email Address (This is where they’ll receive their invitation to join you on Ryver.)
- Username (optional)
- Display Name (optional)
An email will be sent to the people you invited containing the information they need to join your Ryver account. For more information about managing Members and Guests, please review the People section of our User Guide.
Create Teams
Teams are for private conversations with groups of teammates. Individual team members and invited guests can be in multiple teams. It’s important to structure your teams based your specific organization’s needs. Here are a few examples of how organizations structure their teams:
- By job function or department (a team for “Sales”, “Customer Service”, “Marketing,” etc.).
- By client/project name
- By location
- By type of content (sales leads, news feeds, etc.)
It’s super easy to start collaborating with people within a team in Ryver. Just follow these three simple steps:
- Click on the plus (+) icon next to the Teams channel.

- Once the Create Team window displays, give the team a name (which you can edit later) and description.
- Add people to the team by typing or searching for their username in the ADD TEAMMATES field. (Note: A person must an existing Member or Guest before they can be added to a team. Learn more.)
When the Member or Guest logs into Ryver, they will automatically be part of the newly created team. For more information about managing Members and Guests, please review the Teams section of our User Guide.
Assign & Manage Tasks
The Task Manager enables you to turn your conversations into action. You can assign, track, set reminders for, and mark tasks as “complete.” There are two ways to create tasks:
Create a Task from Scratch
-
- Click on the name of the team to which you want to associate the task.
- Click the plus (+) icon on the horizontal menu.
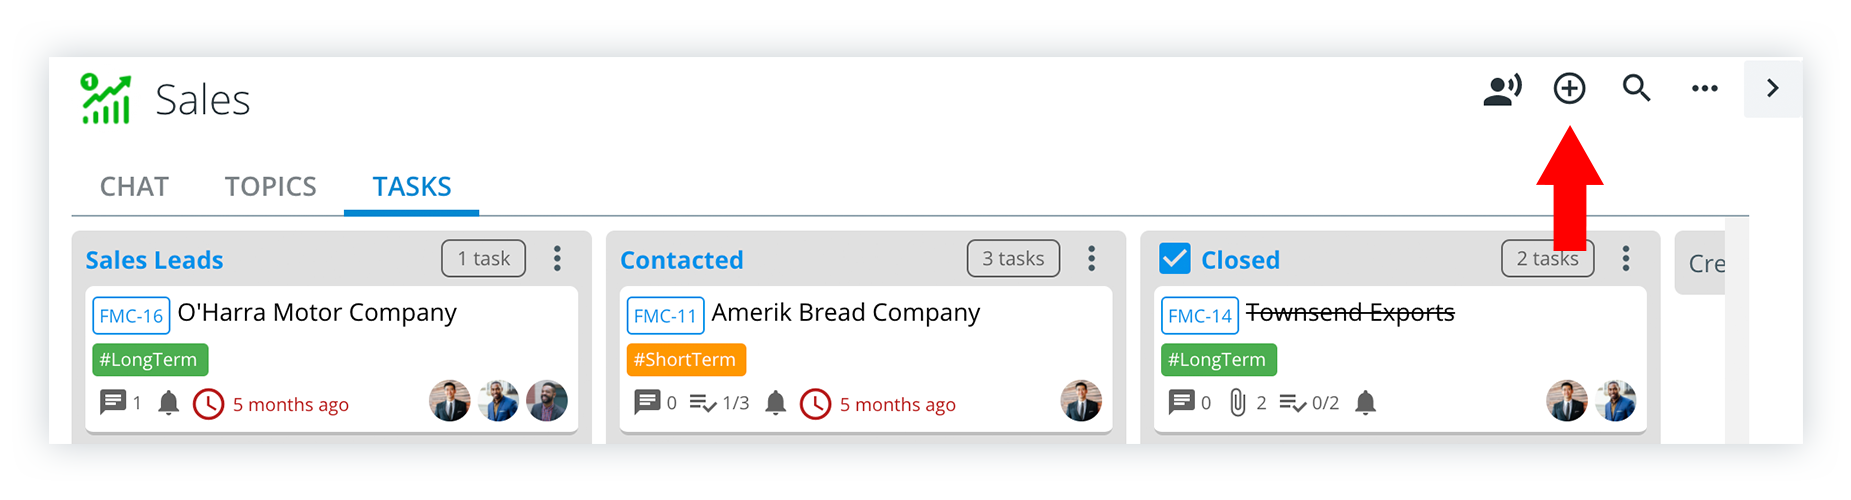
- Select the Create Task option from the menu. Once the Create Task window displays, enter the name the task into the SUBJECT field.
- From this window, you can also enter a description for the task, categorize the task, and add a due date and reminders for the task. You can also add tags, create checklists, and add files to the task.
- Finally, assign the tasks to one or more Members or Guests. (You can also assign it to yourself.)
Convert a Message Into a Task
-
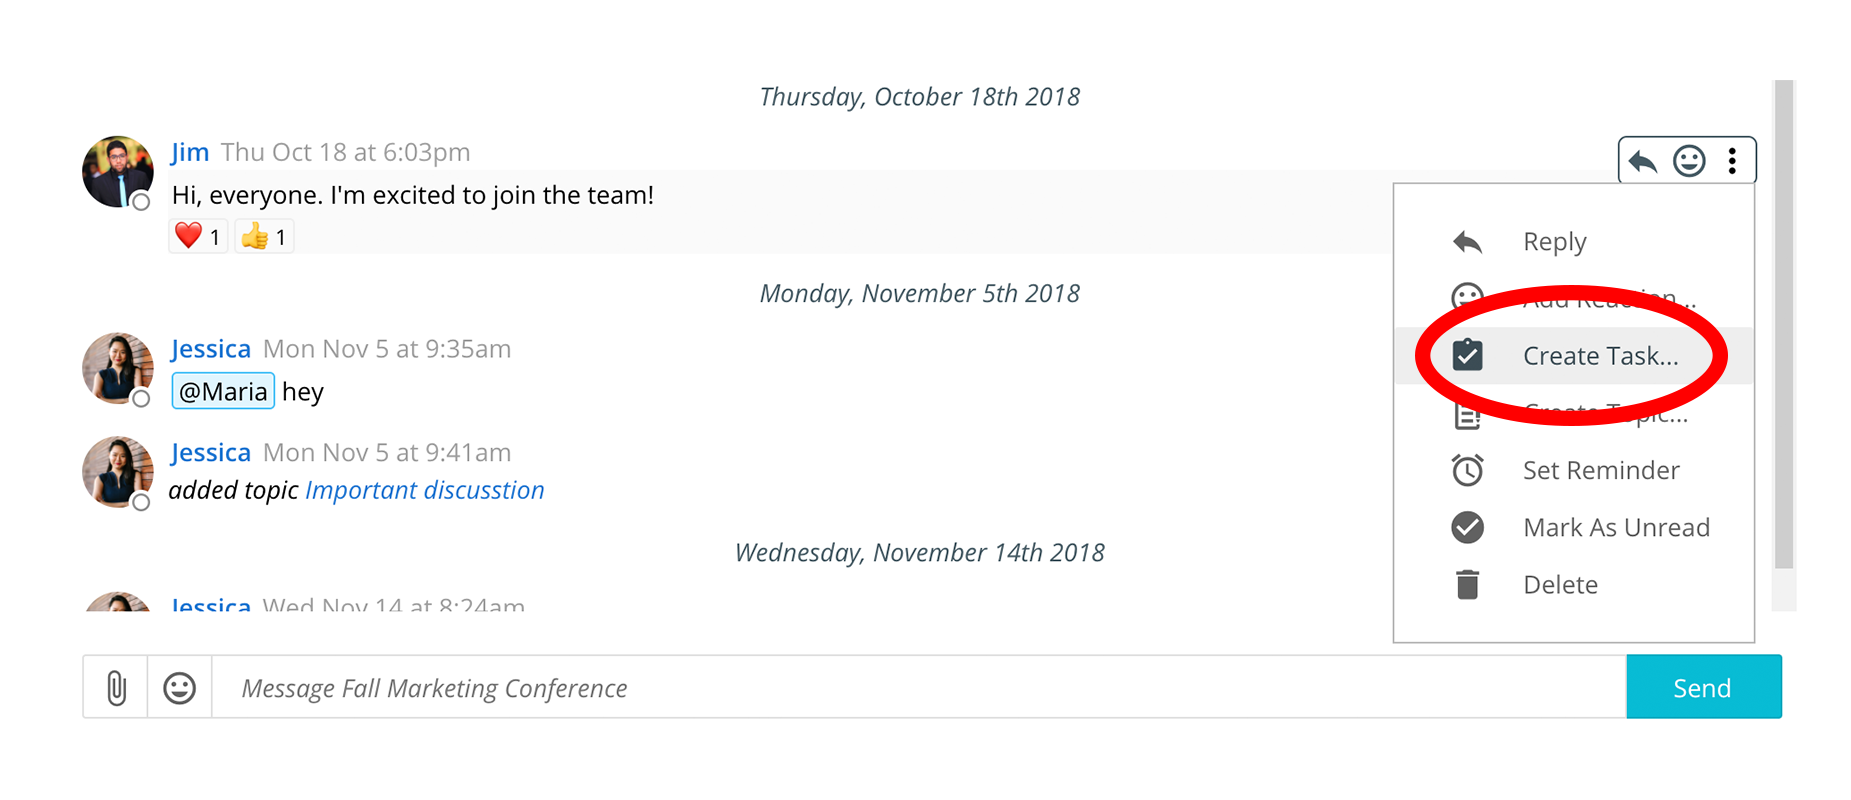
- Click on the ellipses next to the chat or topic message that requires that someone take action (i.e., a new task), then choose Create Task from the pop-up menu.
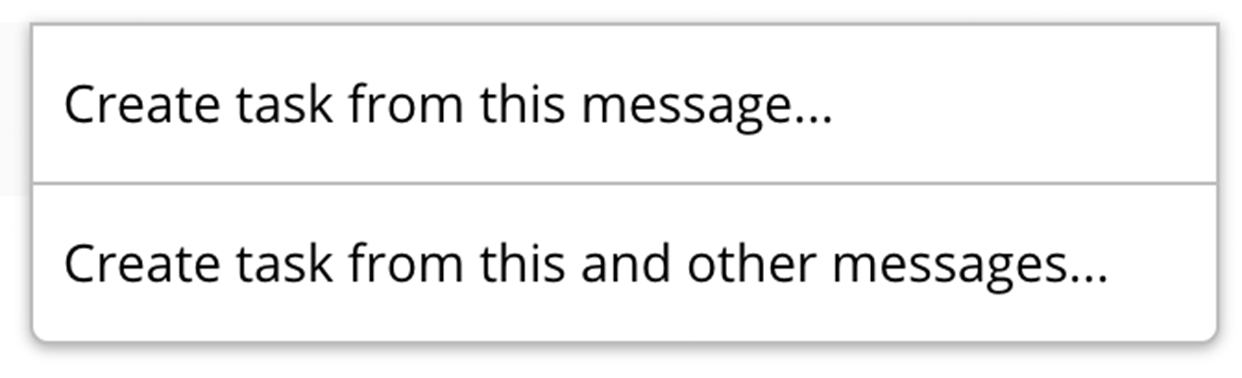
- A small window displays that enables you to choose which message(s) you want to apply to the new task. Choose the message(s) to save to the task.
- Click on the ellipses next to the chat or topic message that requires that someone take action (i.e., a new task), then choose Create Task from the pop-up menu.
- The Add Task window displays with the message(s) added in the TRANSCRIPT field. Enter the name the task into the SUBJECT field.
- From this window, you can also enter a description for the task, categorize the task, and add a due date and reminders for the task. You can also add tags, create checklists, and add files to the task.
- Finally, assign the tasks to one or more Members or Guests. (You can also assign it to yourself.)
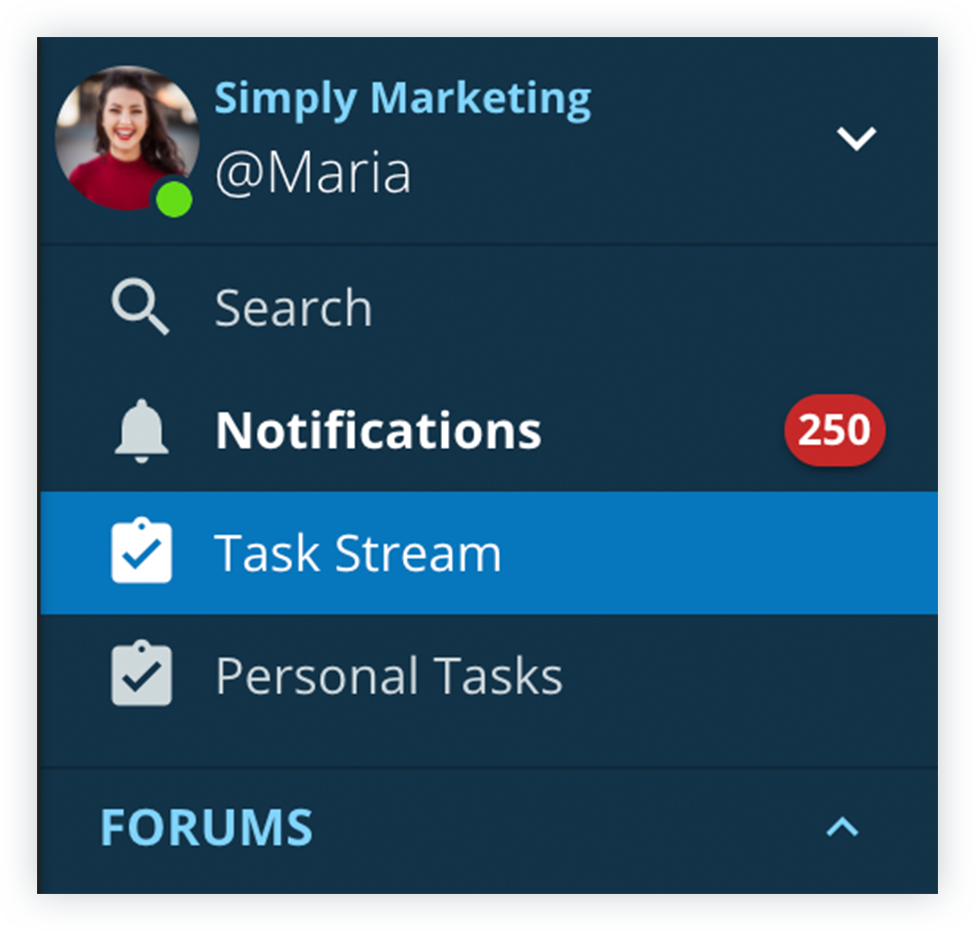
Every user can view a list of tasks to which they’re assigned by clicking on the Task Stream option in the main navigation.