The Big Picture
This guide is designed to help provide you an overview of the basic Organization Settings available to account administrators.
Basic Definitions
- Organization — The admin-created team collaboration account is called an “Organization”. Admins will be prompted to create a unique domain (URL) for their team during sign up.
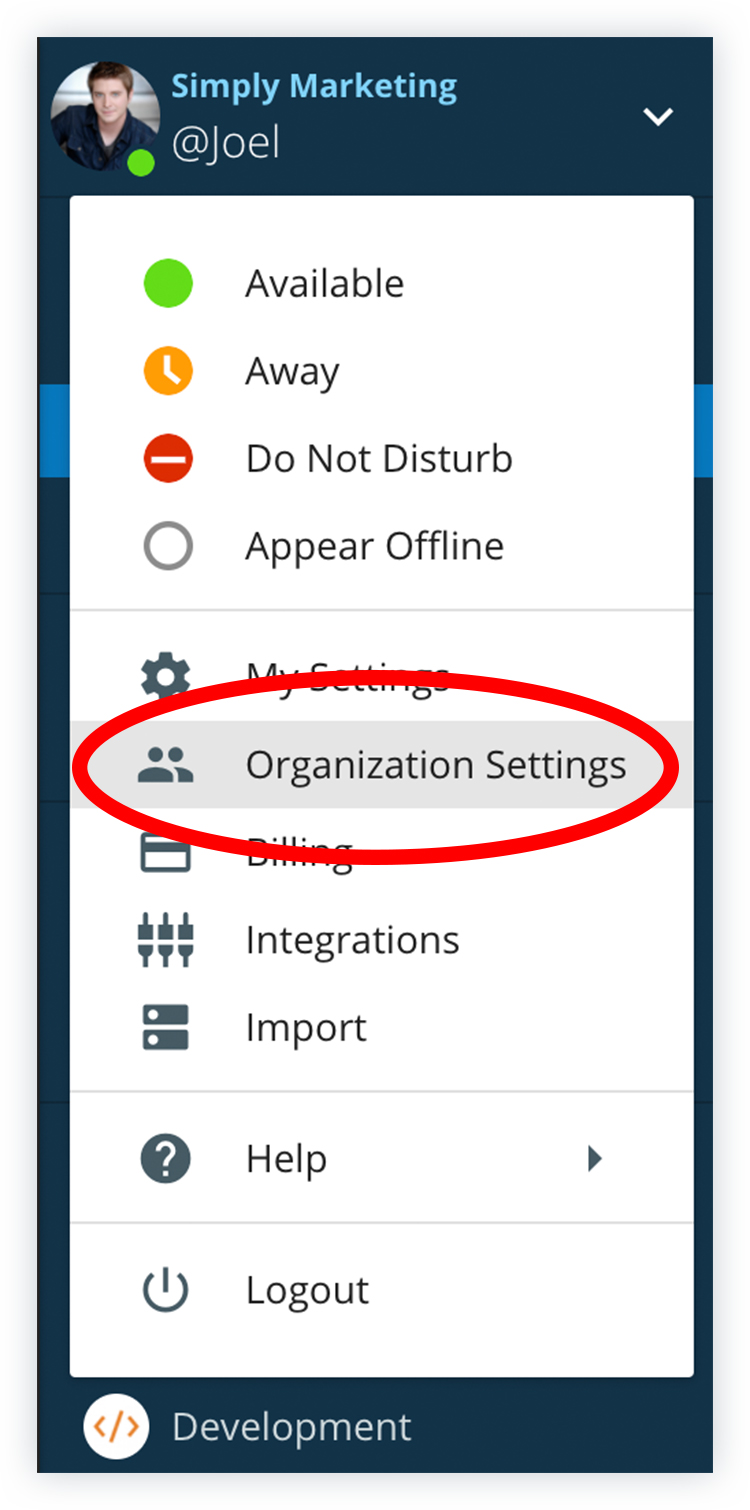
To make changes to Organization Settings, click the drop-down arrow at the top of the Navigation Bar. Then select “Organization Settings” (pictured below).
The “Organization Settings” window will pop up (pictured below), which provides individual tabs for updating the specific Organization settings.
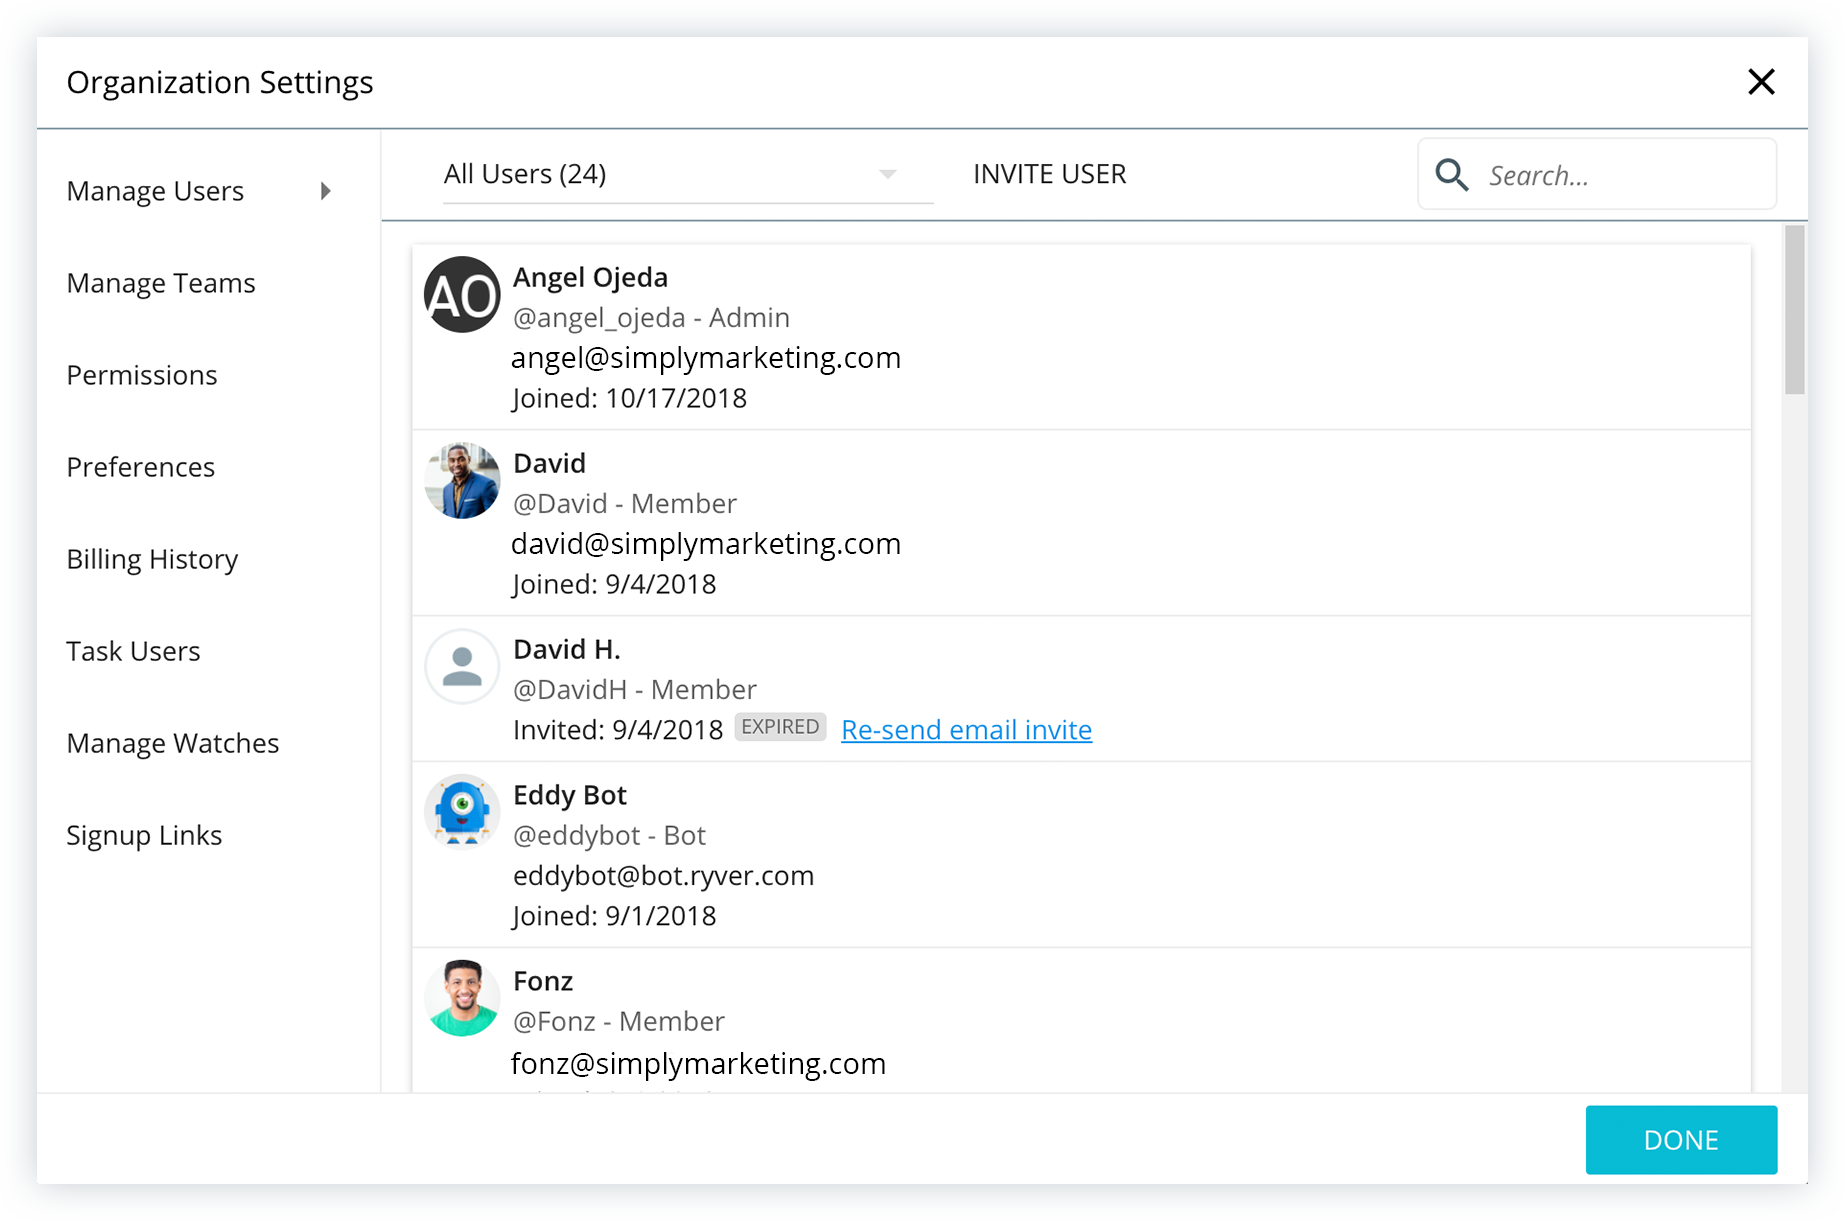 Below, we cover each of these items in basic detail.
Manage Users
The Manage Users tab (pictured below) allows for the “Deactivation” and “Role Change” of Users within an Organization.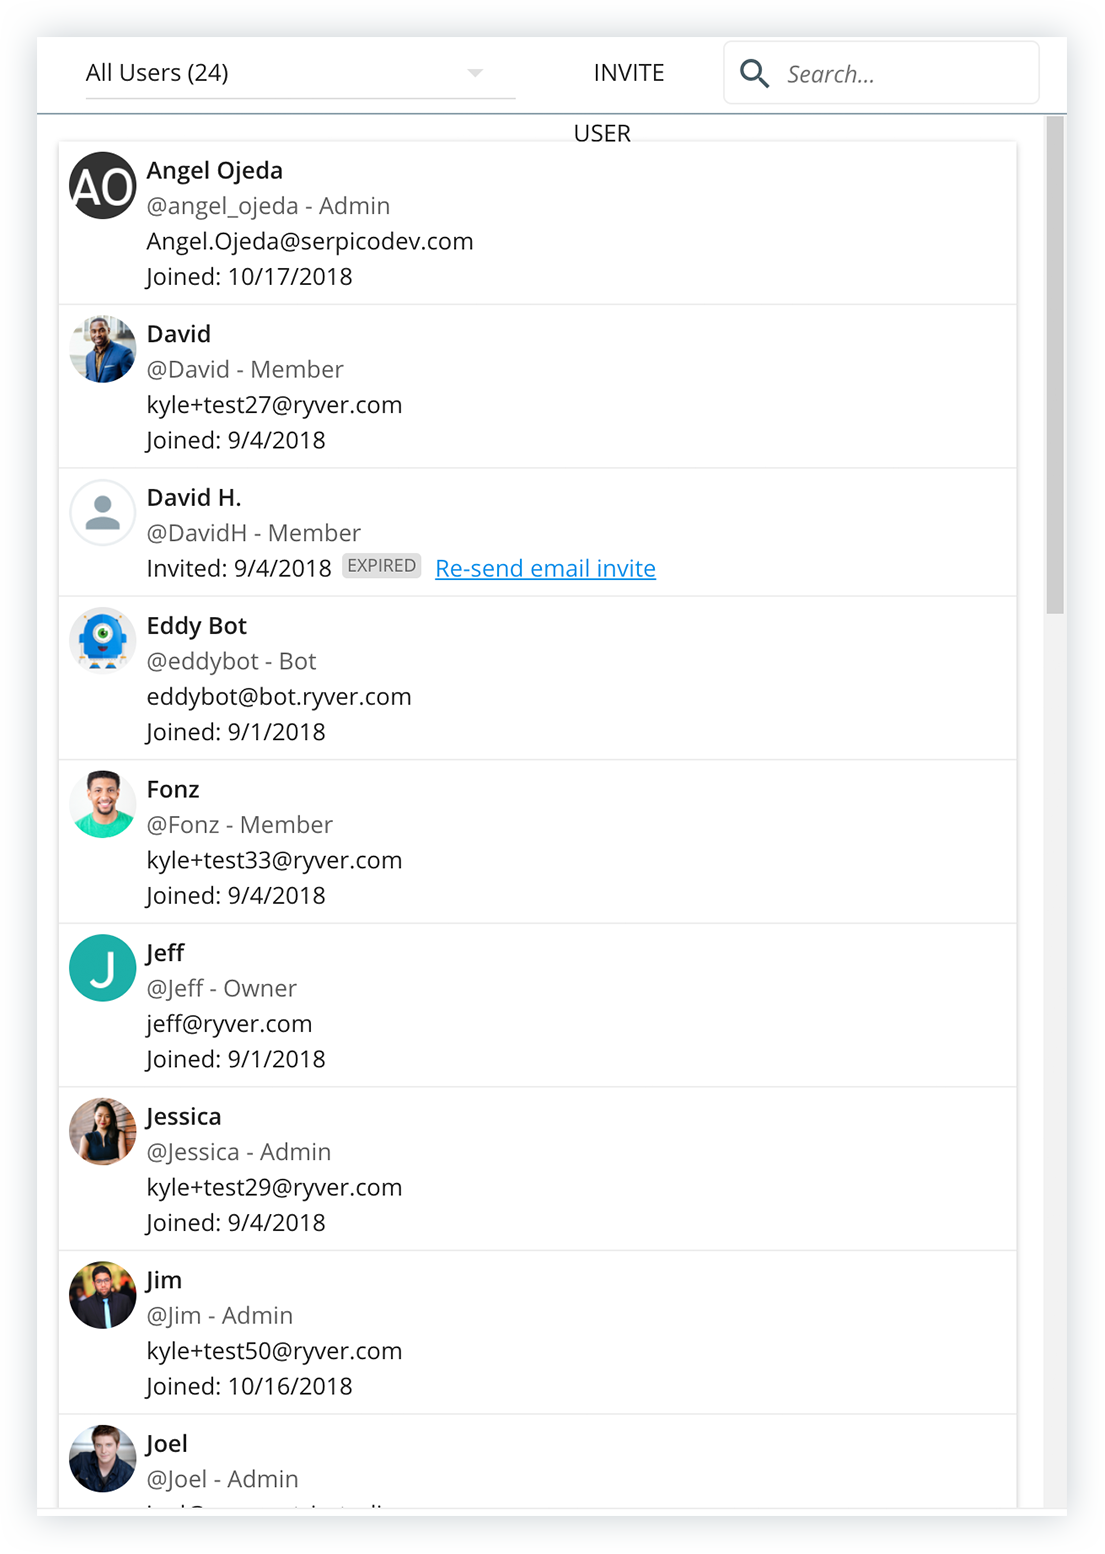
- A “deactivated” user will no longer be able to log into the Ryver Organization, but they will remain in the User Manager and can be re-activated at any time. Their content, topics, comments, and chat messages will remain in the Organization after Deactivation.
- “Change Role” allows admins to change a User’s role between Guest, Member, and Admin.
To update a User, click the ellipses to the right of the User and select the option to “Deactivate” or “Change Role”. When “Change Role” is selected, a separate window will pop up with options available for the Users new role.
- Listed Users can be sorted by clicking the drop down arrow at the top of the tab and selecting a sort option.
Manage Teams
The Manage Teams tab allows for the “Archiving” and “Deletion” of teams within an Organization.
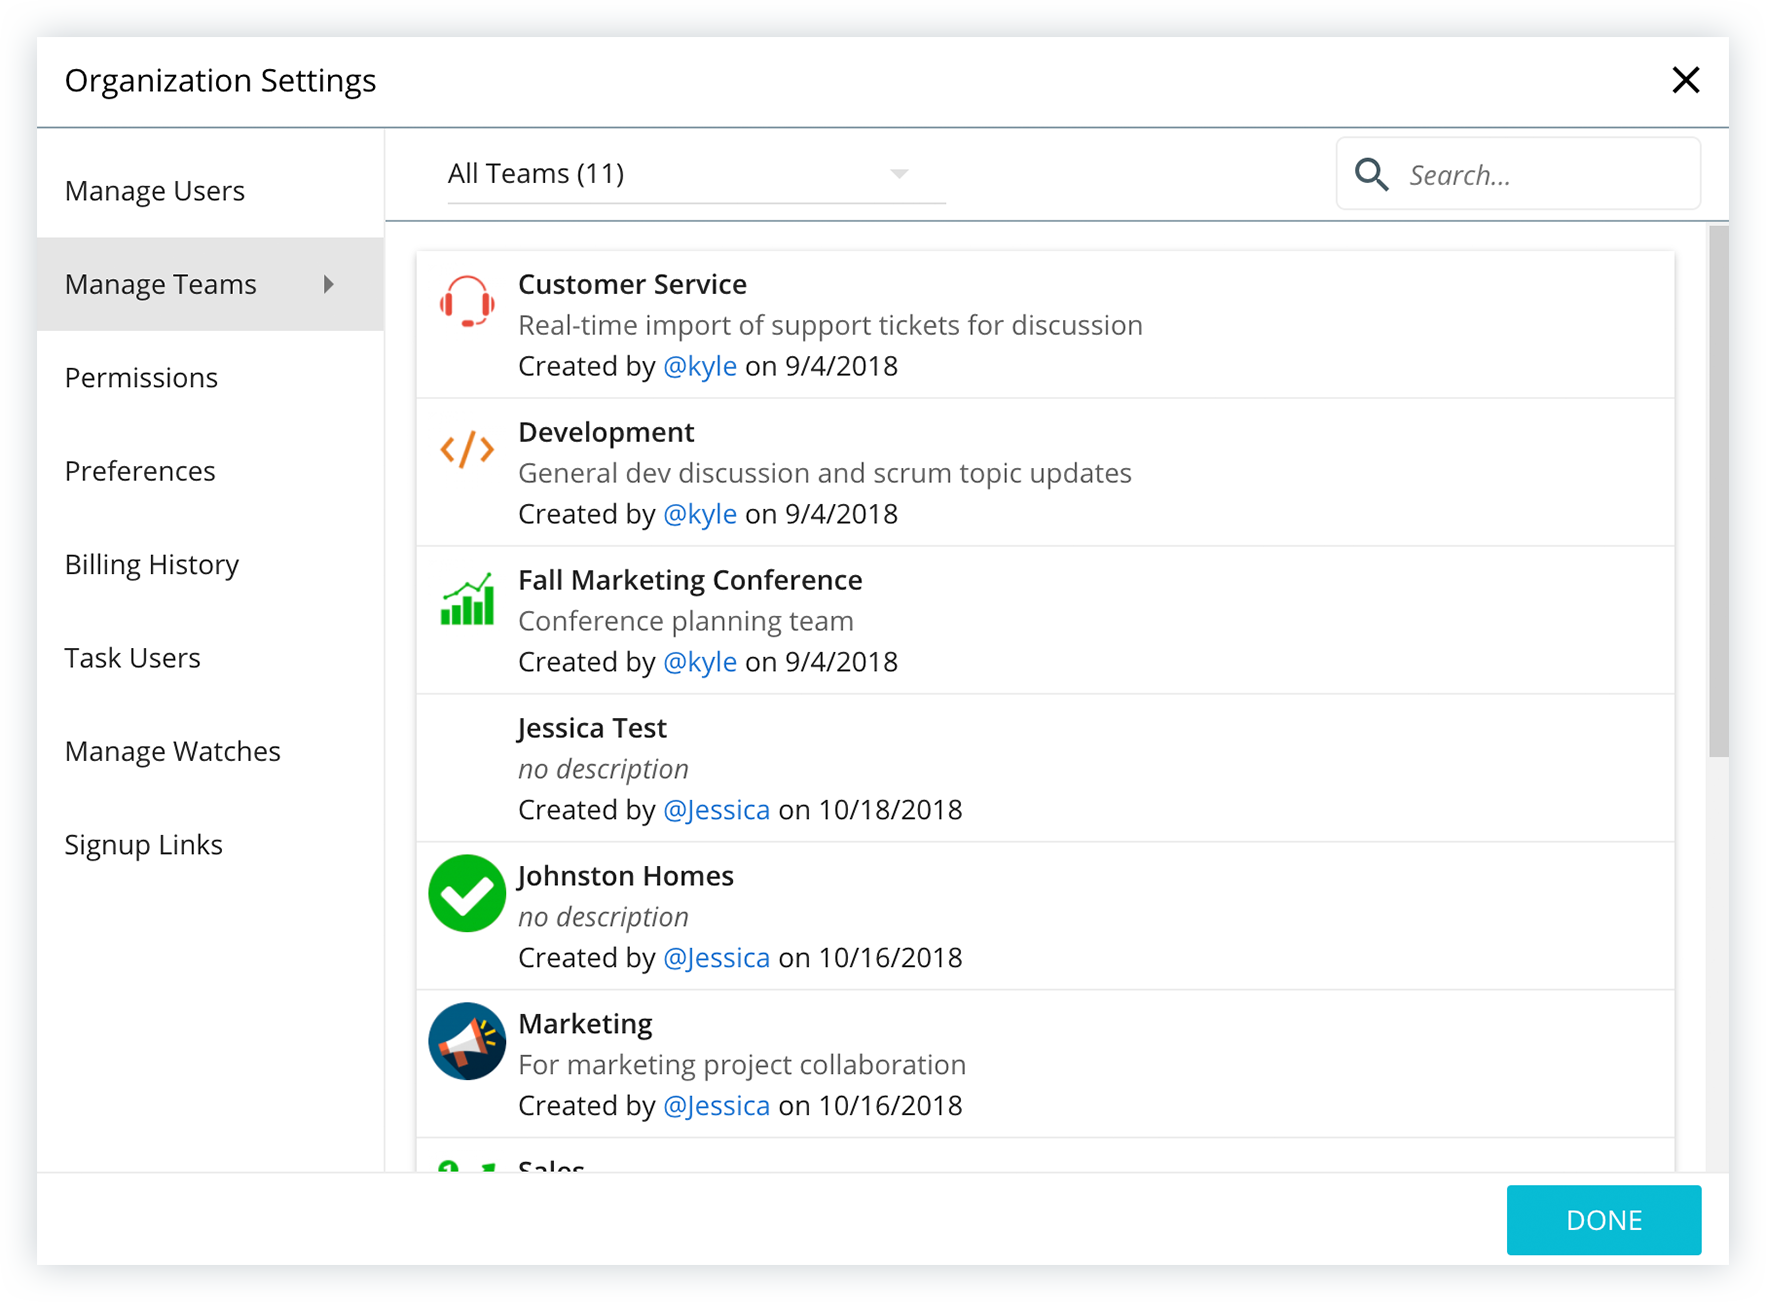
- “Archived” Teams are removed from the active teams list. They will go into a read-only mode that hides the chat text input box and the “+” buttons for adding new topics or tasks.
- The Team’s content (chat, topics, tasks, and files) will remain in the Organization after Archiving.
- “Deletion” completely removes a Team communication channel from Ryver and all posted content (chat, topics, tasks, and files) within it. This is true for all Users including Admins.
To update a Team, hover your cursor over the Team you’d like to make changes to and click the ellipses to the right. Select the option you’d like from there.
Permissions
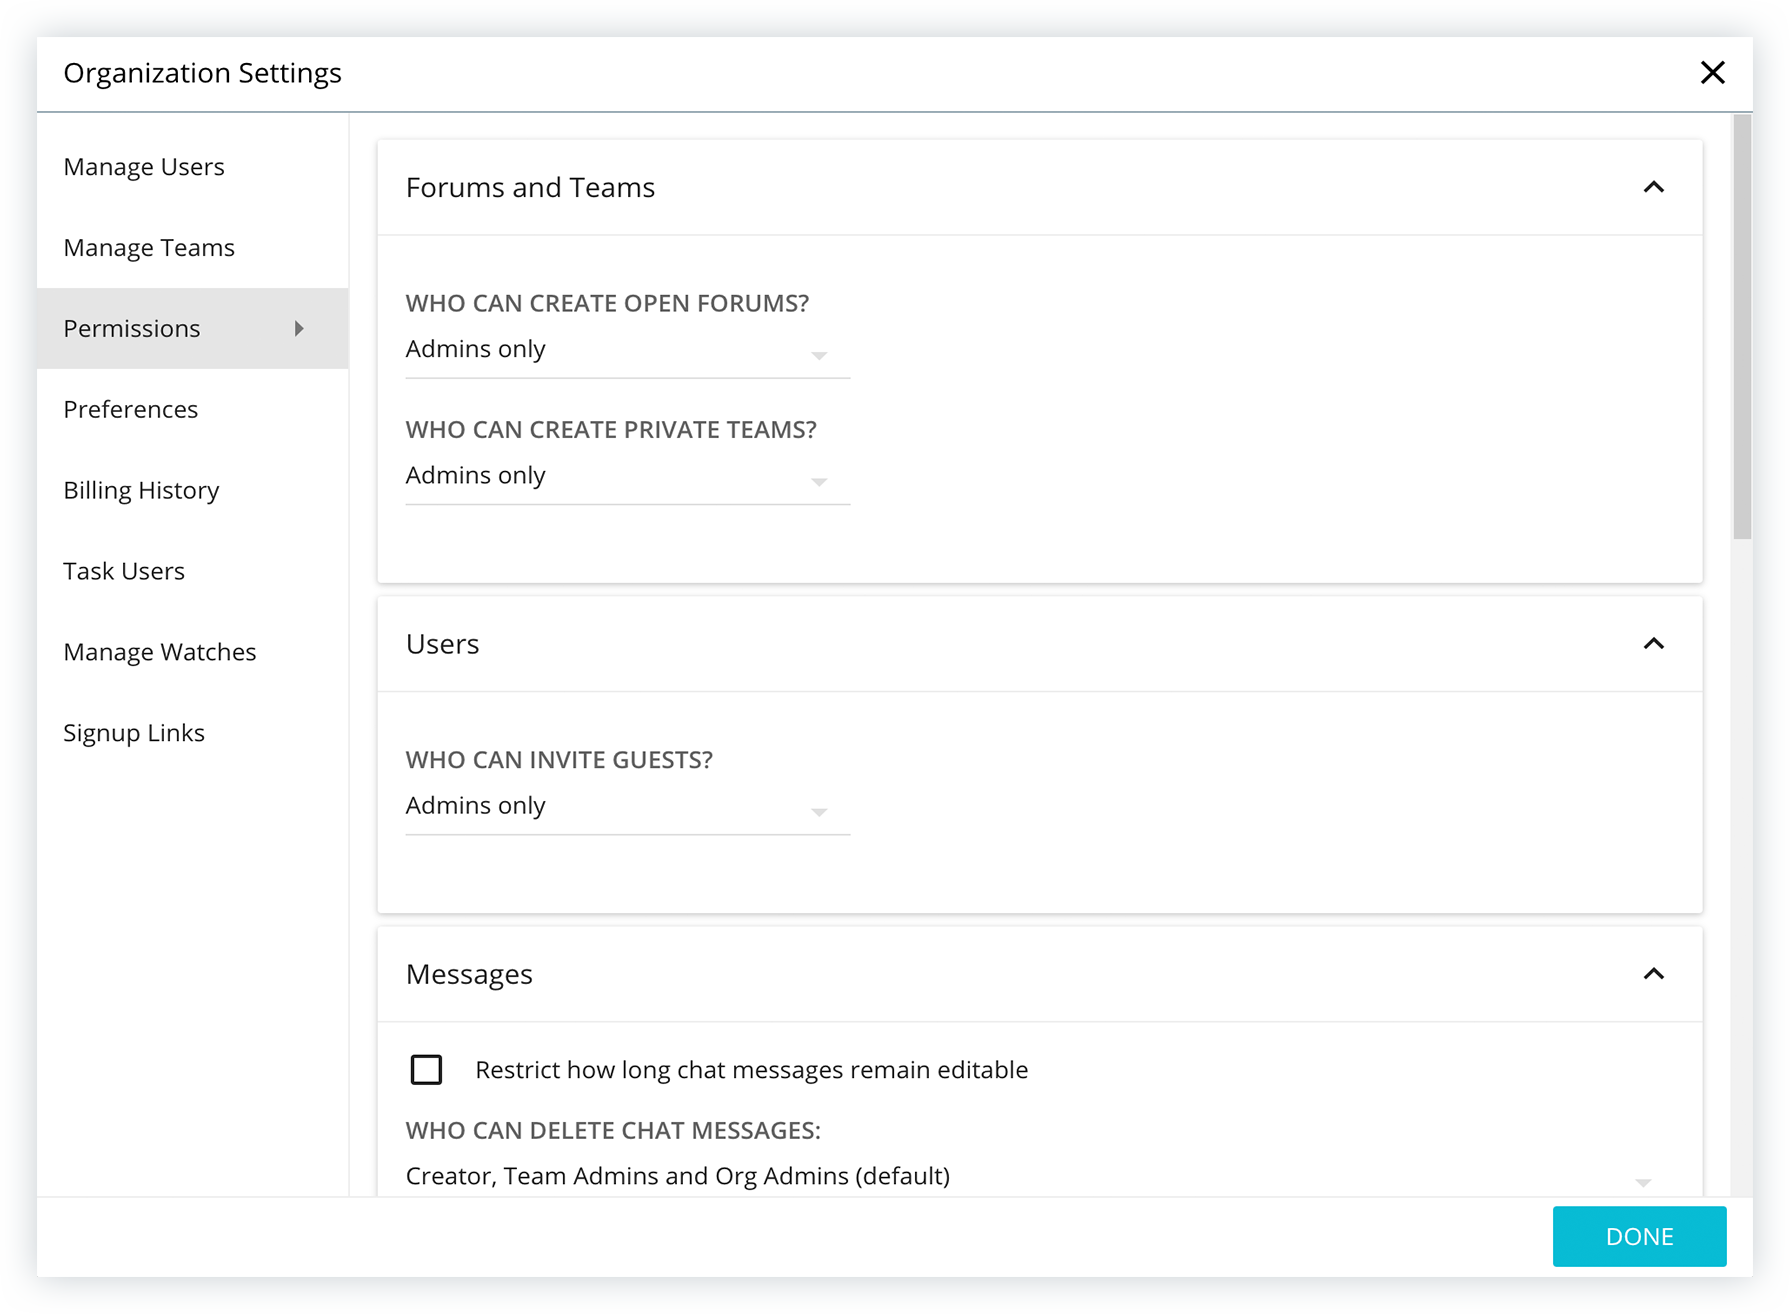
The Permissions tab includes numerous control settings for the creation and addition of items within the Organization. Settings include:
- Forums and Teams: Update which User roles have permission to create new Forums and Teams within the Organization. By default, this is Admins only.
- Users: Update which User roles within the Organization can invite new Users. By default, this is Admins only.
- Messages, Topics, and Topic Replies: Admins can restrict how long Messages, Topics, and Topic Replies are editable, as well as update who can delete them.
- Permission to delete content can be given to “Team Admins”. Users can be made Team Admins by Organization Admins. To do so, open the “Manage Team” option found in the right sidebar of each Team. In Manage Team, select the “Change Role” option in the ellipsis menu next to the User’s name to update their role.
- Tasks and Task Comments: Admins can add restrictions to who can delete Tasks and Task Comments, as well as restrict how long Task Comments remain editable.
Preferences
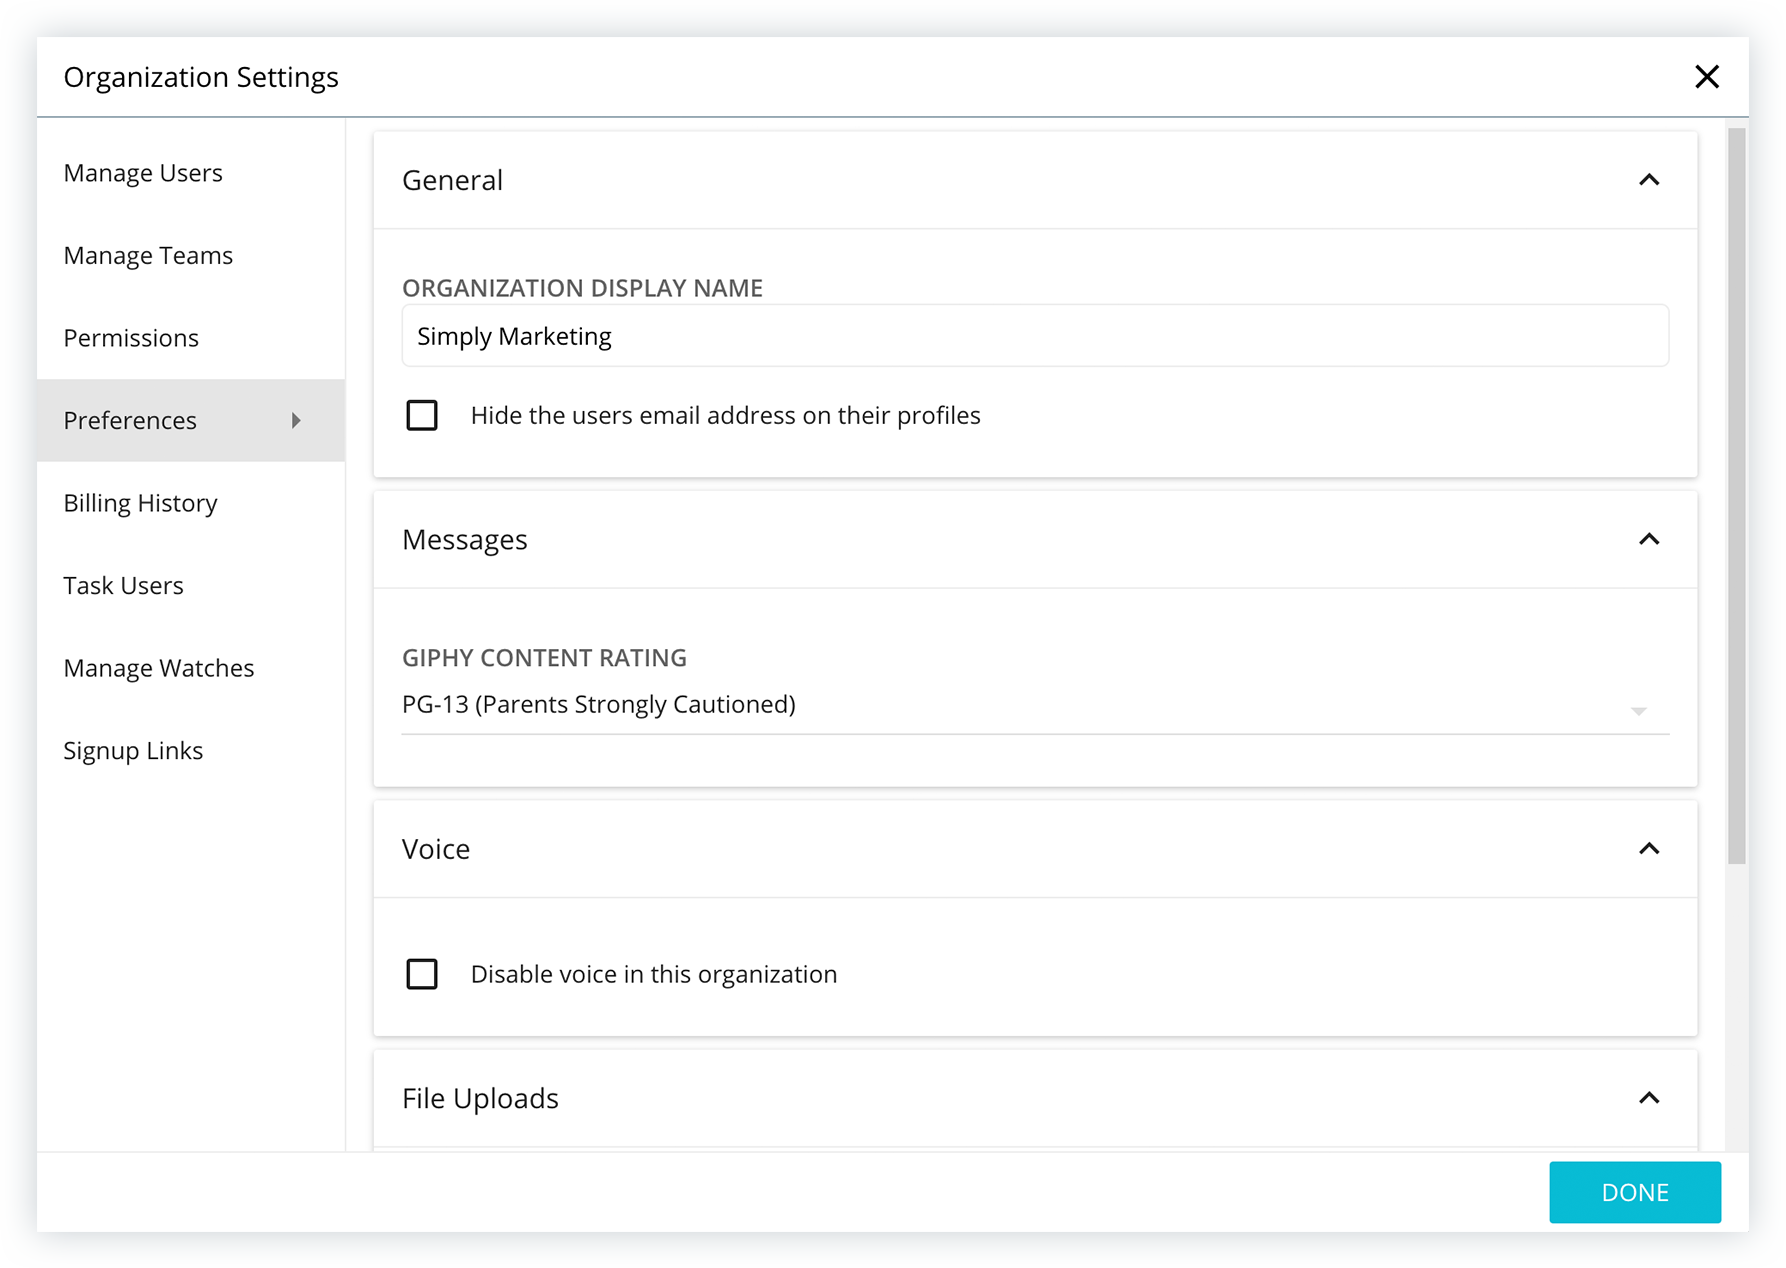
The Preferences tab includes numerous Organization settings for updating Organization-wide options.
- Organization Display Name: Update the name that is displayed for all Users within the Organization.
- The registered Organization name and custom organization URL will remain the same.
- Admins can also remove the visibility of User email addresses on their profile from here.
- Voice: Update the availability of the “Voice” communication channel. This includes Voice chat (audio only), “Share Screen”, and “Share Video” (video conferencing) communication.
- File Uploads: Choose which file storage sites are available to Users to upload directly to your Organization from.
- Ryver currently supports direct upload from the file sharing services Google Drive, Dropbox, and Box.com.
Billing History
The Billing History tab provides invoices related to the subscription for Organizations that are not on a directly-billed subscription plan.
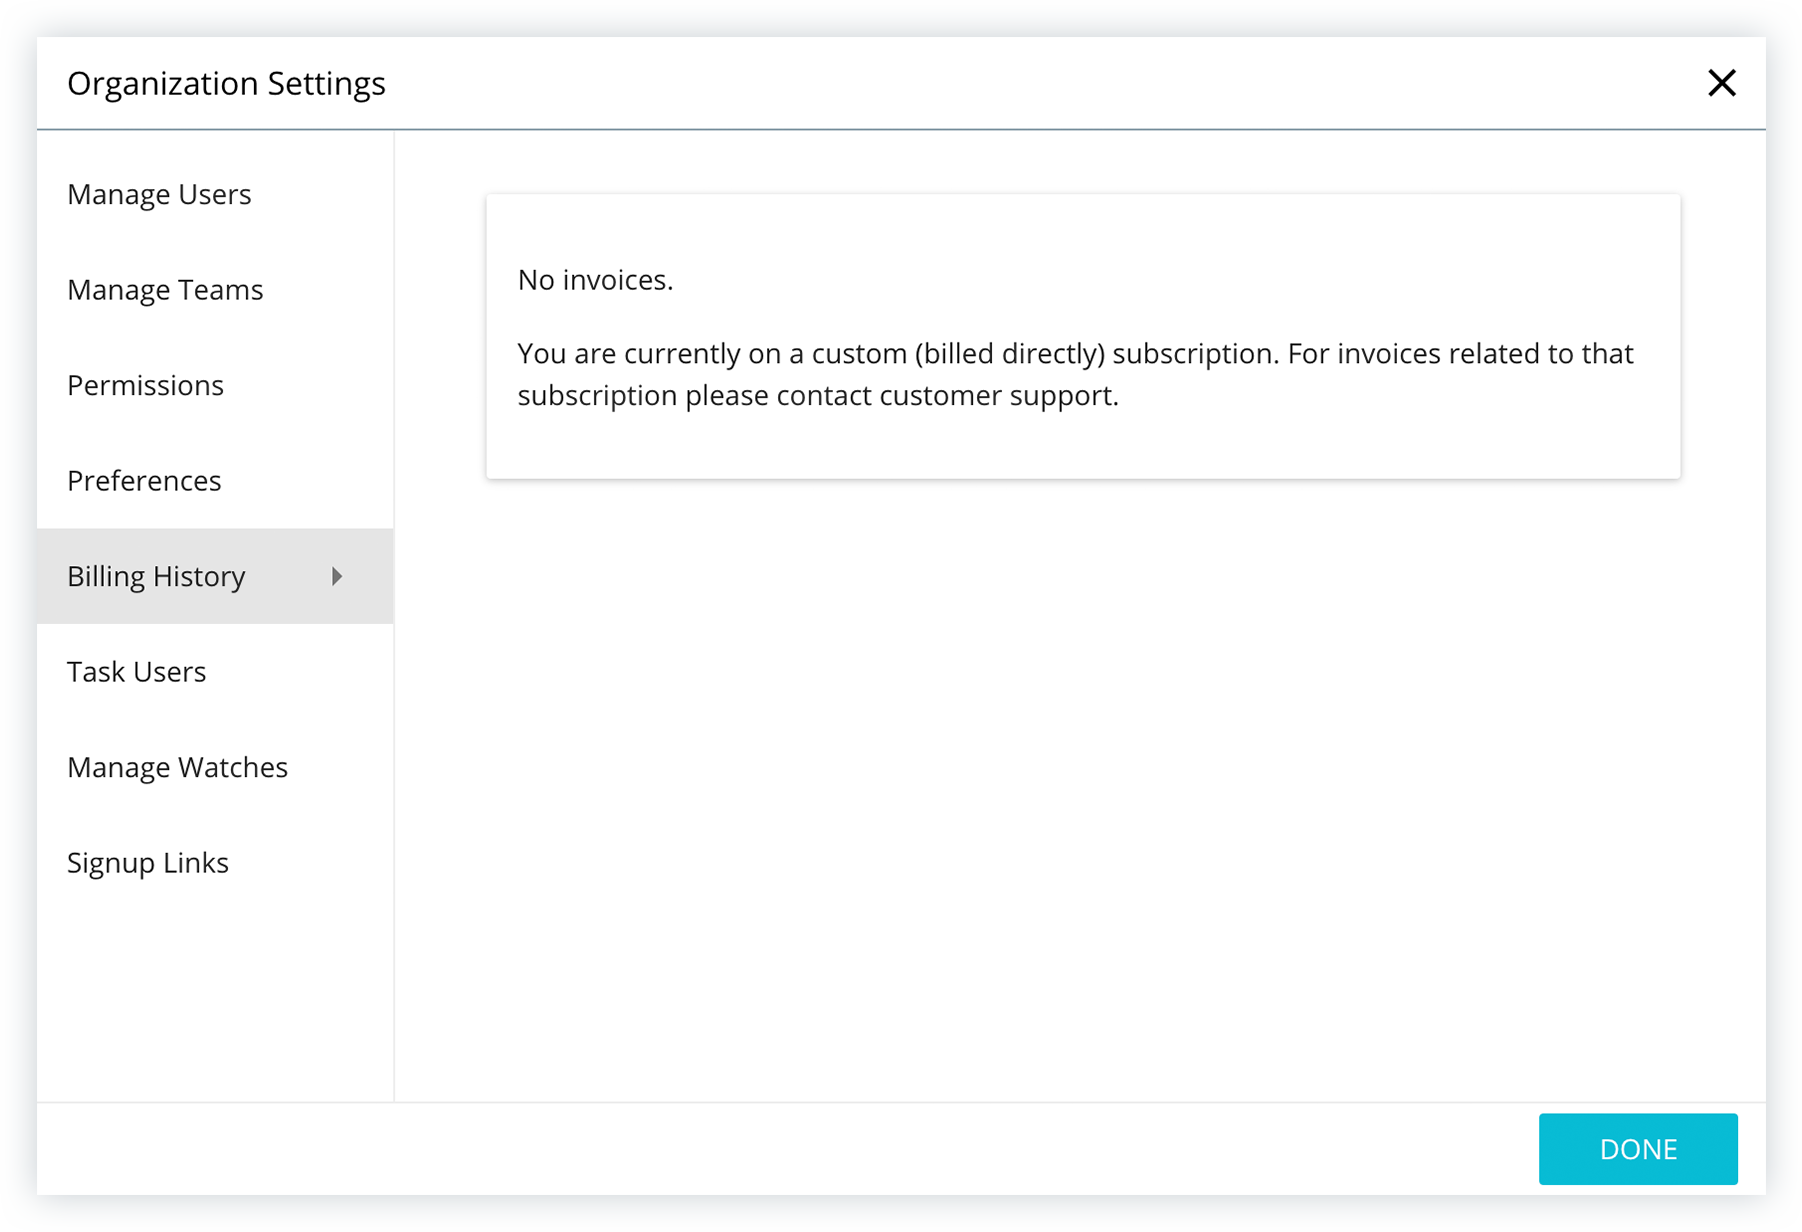
For questions or support with invoicing and payments, please contact Customer Support in the Help menu of the Organization’s Navigation Bar or via email at support@ryver.com.
Task Users
If your Organization selected a limited Team Task user plan (5 or 15 users), the Task Users tab provides a list of Users who currently have the ability to create and use tasks.
- Users can be added to or removed from the Task Users group by selecting the ellipsis next to their name.
To learn more about Task management, visit our Collaboration Spaces page.
Manage Watches
The Manage Watches tab lists the current news, RSS feed, and social media streaming “Watches” that an Organization’s Users have added to their Teams and Forums.
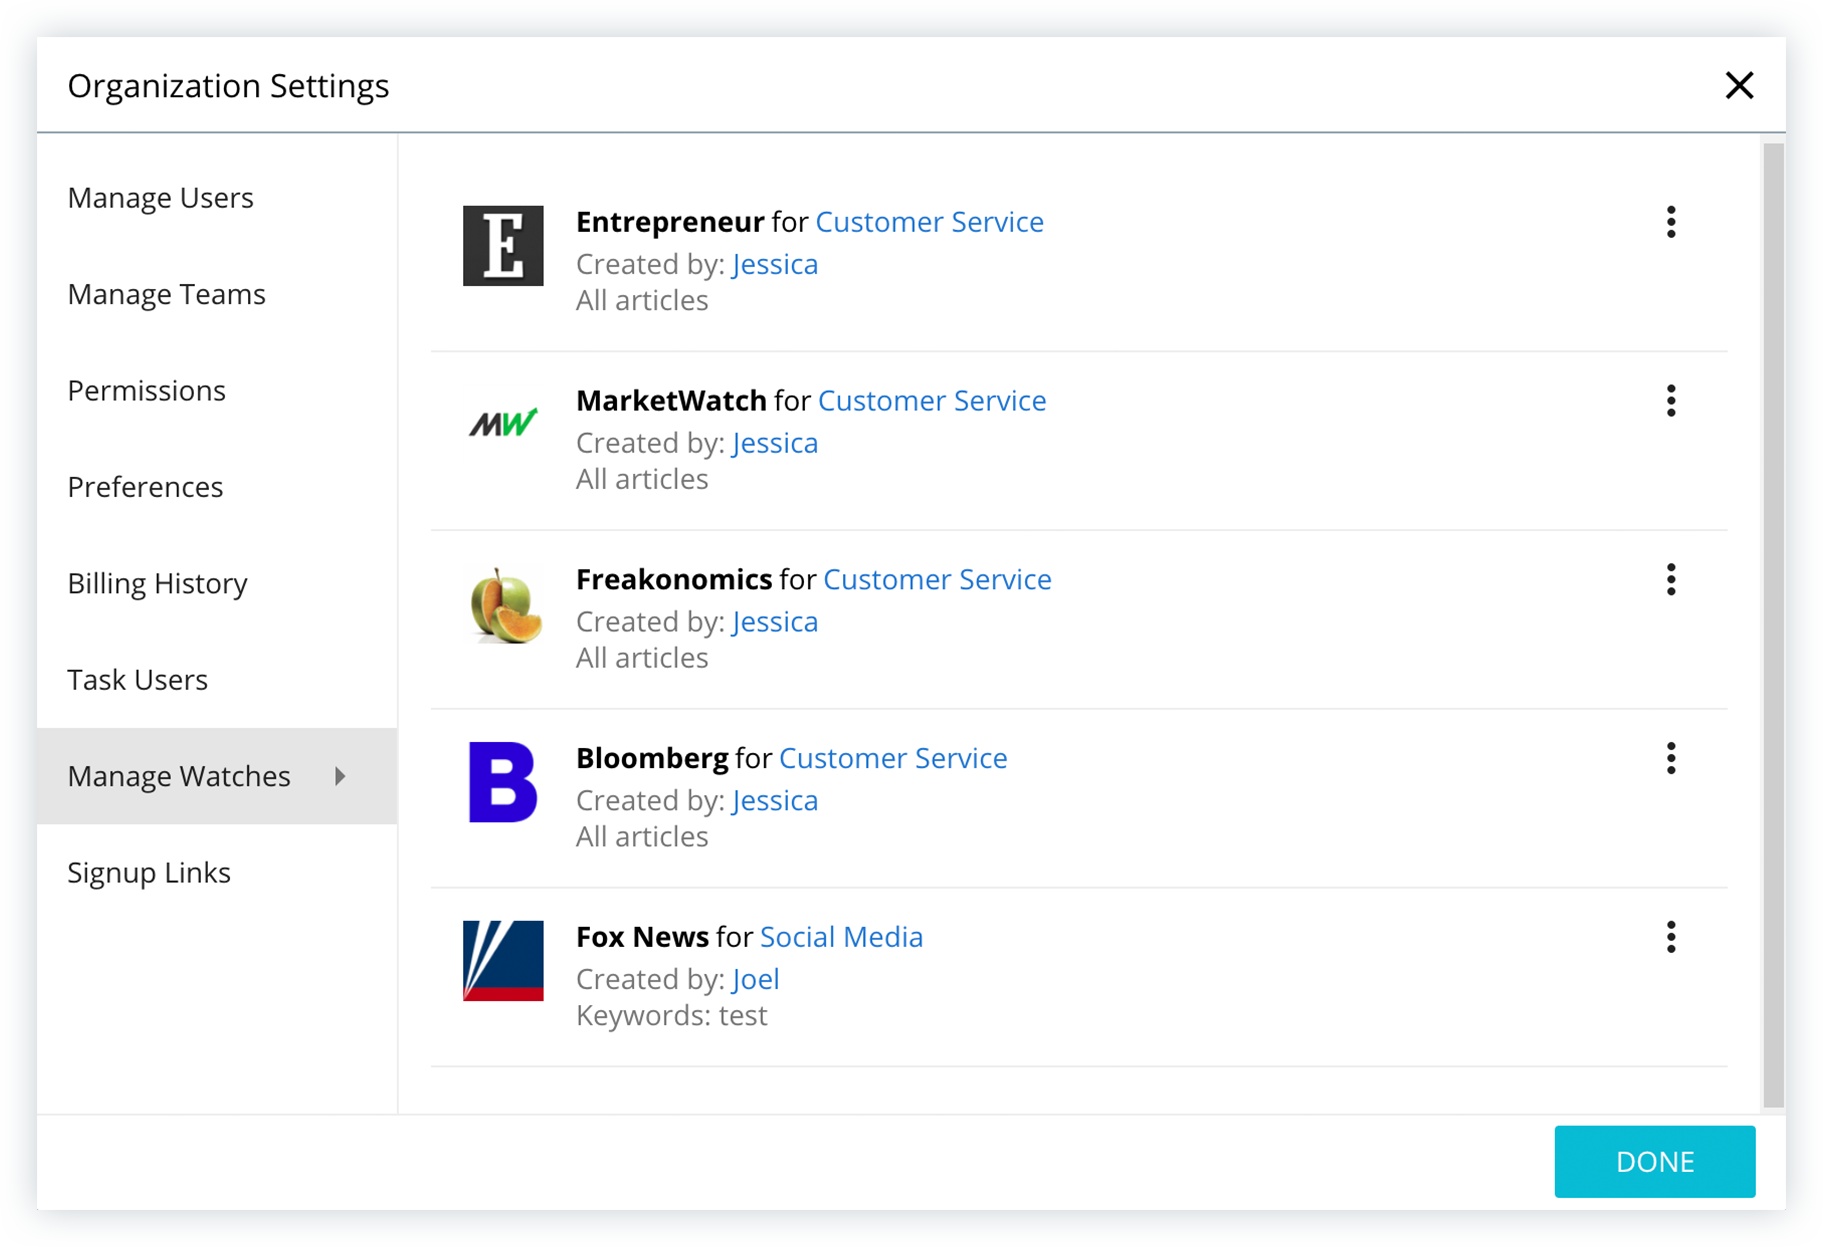
- Admins have the ability to “Disable” or “Remove Watch” via the ellipsis on the top right of the Watch.
For more info on Watches and how to add them to a Team or Forum, see our Ryver News Streaming page.
Signup Links
This tab lists the currently created Signup Links for your organization. Signup Links are custom created URLs that non-Ryver users can use to create a Ryver account within your organization.
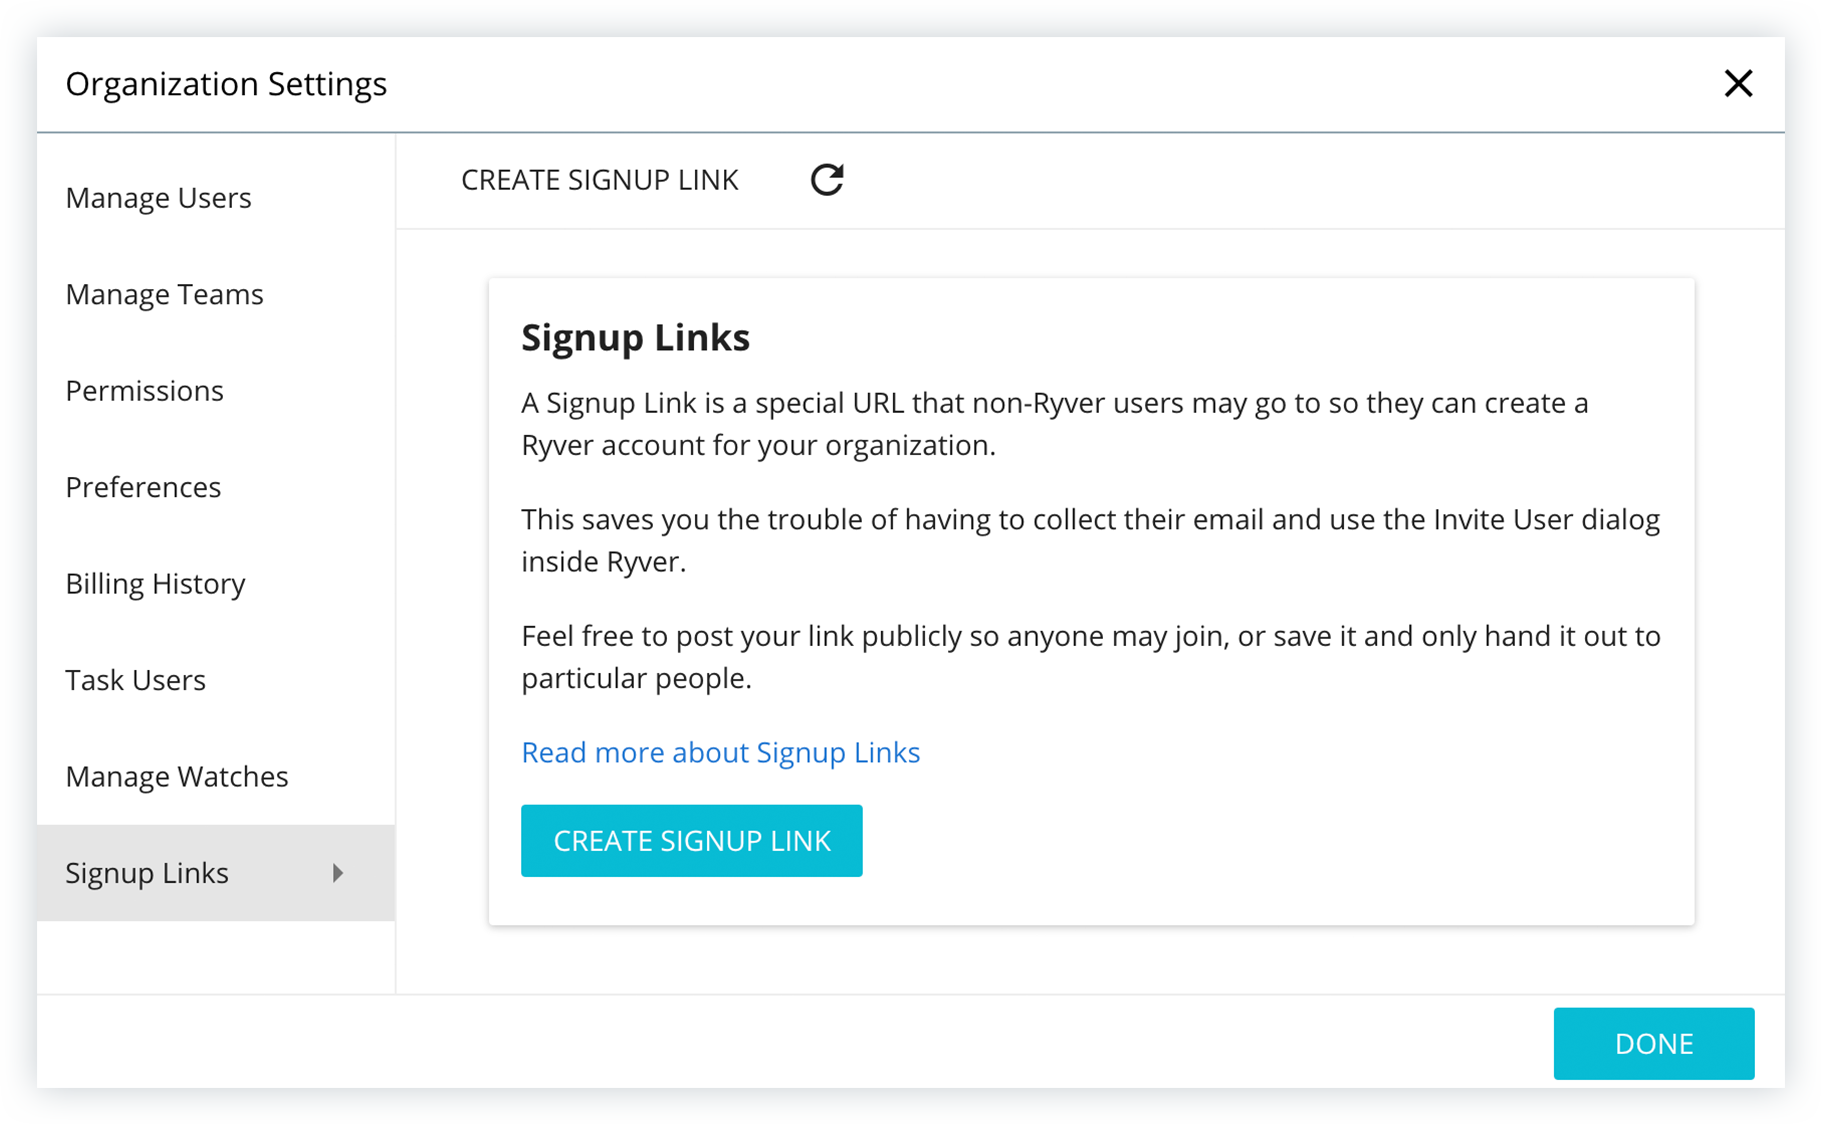
- The “Create Signup Link” button starts the process of creating a new link. This brings forward a prompt for Signup Link details.
- Signup Links can be created with a custom name, to specifically add new Users as Guests or Members, and to add them to specific Forums, Teams, and/or Domains.
- Multiple Signup Links can be created to customize the way new Users are added to an Organization.
For more info on signup links, see our Generate a Signup Link page.